I love butternut squash and I love leeks. Need I say more?
Ingredients:
1 (2) pound butternut squash
Cooking Spray
1 tsp butter
1 tsp coconut oil
4 cups finely chopped leeks (about 6 leeks)
1 tbsp sugar
3/4 tsp salt
1/4 tsp pepper
dash of nutmeg
4 large eggs
1/4 Parmesan cheese, grated
Preheat the oven to 375 degrees.
Cut squash in half lengthwise, remove seeds, place on a baking sheet that has been sprayed with cooking spray cut side down. Bake for about 45-60 minutes until soft. Allow to cool then scoop out the flesh and put into a large bowl. Mash with a potato masher until smooth.
Meanwhile prepare he leeks buy cutting off only the white part, slicing them lengthwise and then submerging into cold water to rinse well. Leeks can be incredibly dirty to make sure you pull them apart and wash very well. Dry and chop finely.
In a large skillet over med heat, add the butter, coconut oil and leeks and saute for about 20 minutes until they are brown and somewhat caramelized.
To the bowl with the squash add the sugar, salt and pepper, nutmeg, egg, leeks, half the cheese and mix well.
Pour into six 6 oz ramekins that have been sprayed with cooking spray. Place ramekins into large baking dish and fill with water about half way up the sides. Bake for about 35 to 45 minutes until knife inserted in center comes out clean.
Remove from the oven, use the rest of the cheese over the top of the ramekins, then place under the broiler for a few minutes until brown.
Who does not love some mushrooms with a steak at dinner? When I've made mushrooms in the past I always sauteed them. The idea of being able to throw everything into a pan and put it in the oven sounded appealing. No standing there stirrring the pot, no watching to see what's happening. Put it in the oven, set the timer, and go have a glass of wine. Sound good?
Ingredients:
1 pound mushrooms
2 tbsp capers
3 large garlic cloves
2 tbsp olive oil
3 tbsp butter
Salt and Pepper
zest and juice from one half lemon
2 to 3 tbsp chopped parsley
In a heavy saute pan, preferrable cast iron, add the cleaned mushrooms.
Rinse the capers, dry them then chop and put in the pan.
Mince the garlic and add it to the pan.
Add the olive oil and butter, some salt and pepper to taste, and toss it all together.
Cook in a preheated 450 degree oven for 20 minutes.
When it come out hit it with some lemon zest and a good squeese of lemon juice.
Add the parsley and serve hot.
Now that I am dealing with gluten sensitivity I can't eat bread, or baked goods, or multigrain pancakes, one of my weekend pleasures, boo hoo! And it's been months without any kind of starchy carb. It's been easier than I first imagined, and I finally got used to the idea and adjusted my diet accordingly. But now that I have mastered this I find I just want something familiar. You know, a baked good of some kind, similar to a cookie or a piece of cake. Is that too much to ask? That being said, I am on the hunt for recipes that allow me to eat something that looks and feels like a wheat product.
I have to say that now days there are so many more recipes that are gluten free it's actually easy to find things to make. I've tried many different prepared products from the store and most of them leave much to be desired. I've discovered that when it comes to gluten free it really is best to make my own.
This recipe is one of first I tried and I thought it came out pretty well. It is nice to have a healthy snack around that I can have mid afternoon or that my husband can take with him to work.
One of the nice things about this recipe is that it's quite simple to change up. You can add cranberry's instead of raisins. You can use different nuts and seeds, some dried fruits, flax seed. I've tried this with some soy flour and it works well so experiment with different combinations of flours. You can use honey instead of agave. As you can see, this is a good base recipe that you can have fun with.
Ingredients:
1 1/4 cups almond flour
1/4 tsp Celtic sea salt
1/4 tsp baking soda
1/4 cup grapeseed oil
1/4 cup agave nectar
1 tsp vanilla
1/2 cup unsweetened shredded coconut
1/2 cup pumpkin seeds
1/2 cup sunflower seeds
1/4 cup almond slivers
1/4 cup raisins
In a small bowl combine the almond flour, salt and baking soda.
In a large bowl combine the grapeseed oil, agave and vanilla.
Stir dry ingredients into wet ingredients.
Mix in coconut, pumpkin seeds, sunflower seeds, almonds and raisins.
Grease a 8 x 8 inch Pyrex baking dish with grapeseed oil.
Press dough into the baking dish, patting down evenly.
Bake at 350 degrees for 20 minutes.
Allow to cool completely.
Cut into 12 bars.
While going through nutrition school we study 100 dietary theories and what happens with most students is we try many of the diets to see how well they work, or to test a theory in order to help our clients. This is how this recipe came about.
I was testing a diabetic diet, eating no animal products, and no fat. I was also mostly gluten free so I needed lots of vegies and gluten free meals. I made this meal without the oil, I just sauteed it in water. And I found rice noodles that I could use in place of the more traditional wheat noodle.
I find if I have a little starchy carb in the meal I am much more satisfied. If I try to eliminate all starchy carbs from my diet I'm hungry again in an hour and then I am looking for a snack. It's better for my body to just eat the carb and be done with it.
This dish is filling, full of vegies, and has a tiny bit of heat with the sambal. Of course if you prefer no heat at all just eliminate the sambal.
Ingredients:
6 dried chinese black or shiitake mushrooms
2 tbsp tamari
1 tsp sambal
7 ounces rice noodles
1 tbsp coconut oil
4 tsp minced garlic
4 tsp minced ginger
1 onion, chopped
4 large bok choy stems and leaves, sliced into 1 inch strips
2 carrots, sliced thinly
1 small head broccoli, cut into 2 inch peieces
Salt
2 tsp cornstarch
2 tbsp chopped cilantro for garnish
Put dried mushrooms into a small bowl and cover with warm water. Allow to soak for 20 minutes until soft. Remove from the bowl and chop mushrooms into small pieces. Strain the water through a fine seize and put into a medium size bowl. Add the tamari and sambal to make a sauce.
In a small bowl add the cornstarch to 3 tablespoons of water and stir to disolve.
In a large pot boil some water and cook the rice noodles according to package directions. Mine took 4 to 5 minutes but check the package for guidance.
In a wok or large saute pan heat the coconut oil, add the garlic and ginger and cook for 1 minute. Add the onion, carrots, broccoli, bok choy, mushrooms and salt to taste. Stir fry about 4 to 5 minutes or just until the vegetable get slightly soft. Add the sauce, cornstarch water and noodles and toss well to heat through and coat all the vegies and noodles.
Remove from heat and plate. Top with chopped cilantro.
If you have no issues with fat and want a little more flavor you can also garnish with a drizzle of sesame oil.
The package of rice noodles I purchased contained 14 ounces in total and I used half the package for this recipe and it made two large servings.
You can also use baby bok choy instead of the traditional large size.
How did all this start? I ask myself that question often. I start what I think is a great project, and then a couple months later I am questioning myself.
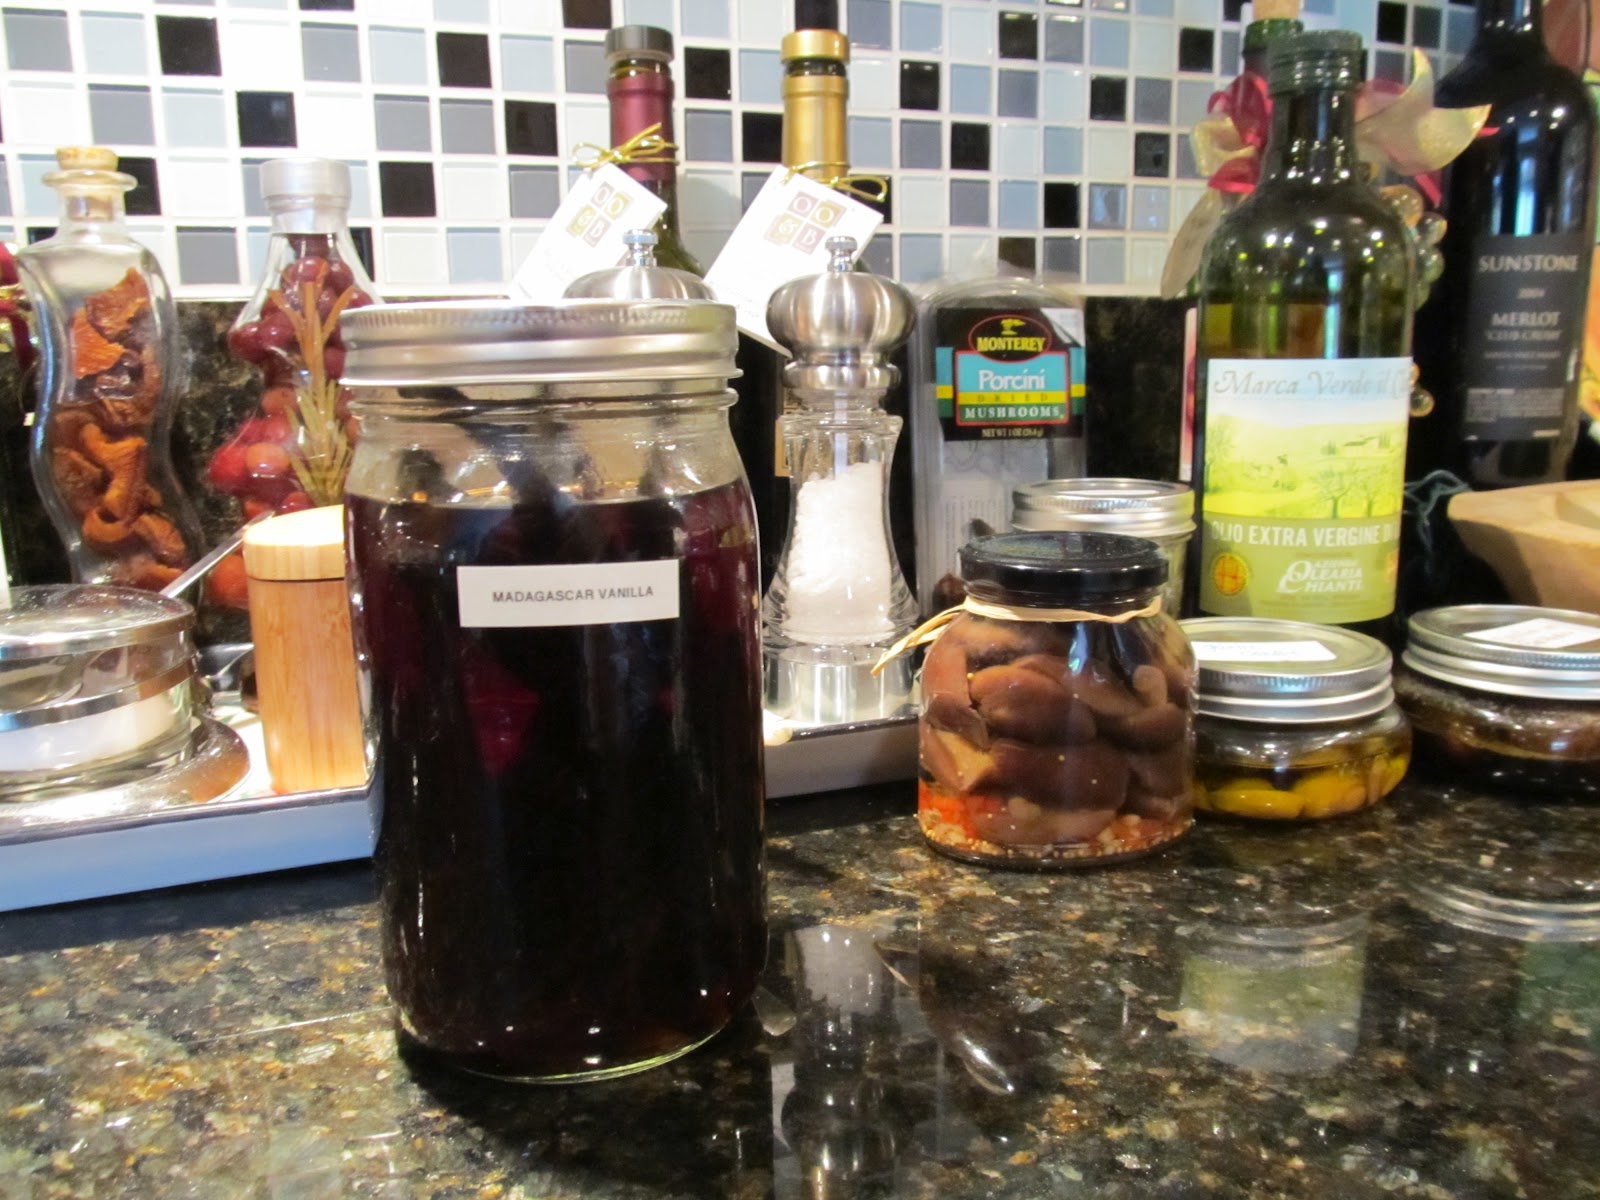
It all started because I was using vanilla in my morning smoothie. Every day. Each and every day. Do you know how expensive vanilla is? Let me tell you. I shopped for vanilla at every store I could find. I compared prices and read about artificial vs natural. I was shocked to find out that even some of the artificial stuff was expensive. I was like WTH? And the good stuff was well, lets just say I would need to take out a second on my house if I continued down that road. It's one thing to use a good quality vanilla every so often when you bake but to use it everyday? No going to happen. With that in mind another idea is born. Make my own vanilla.
I knew it was easy so off I went to buy vanilla beans. The price of these fluctuates also. I finally found the cheapest ones I could find and then proceeded to buy 12 of them. Yickes! I split them down the center and put them into the jar then filled the jar with vodka.
Oh yeah that reminds me, the question of what vodka to use came up. I didn't really want to use the expensive stuff, but if I decided to buy one that was a little cheaper I had to spend money on that, and then I would have lots left over which we would have to drink. Oh darn! Just kidding. We usually buy premium vodka so I really did not want to have some cheap stuff laying around, so in the end I used the good stuff.
I put the jar in the corner of my kitchen where it is dark and cool. I can't remember how long it was supposed to take before it was vanilla, something like a month. Whatever it was it was too short! I checked the bottle every few weeks and there was no way it was vanilla. It smelled like vodka with vanilla beans. So I finally figured that either this project was a bust or I had just wasted a whole bunch of money only to throw it out. I left it in the corner of my kitchen and completely forgot about it, and went on my merry way without homemade vanilla.
Here we are many months later and it finally looks and smells like vanilla. The moral of this story is if you are in, you gotta go in for the long haul. This is not a quick recipe you can whip up and use right away. But if you are curious, and have the patience, make a bottle, but be prepared to put it up for several months. In the end you will have a big jar of homemade vanilla to use any way you want. Even in your morning smoothie.